5 Budget-Friendly DIY Projects to Easily Update Your Home
Discover easy and affordable ways to spruce up your home with these budget-friendly DIY projects. From repurposing old items to creating new decor, these ideas will help you save money while transforming your space. Get inspired and start creating today!
From Drab to Fab: Upgrade Your Home’s Look with These Budget-Friendly DIY Projects
If you're like most people, you want your home to look its best without having to spend a fortune. Home improvements are a great way to give your living space a fresh new look, but sometimes it can be challenging to make significant changes without breaking the bank. Fortunately, with a little elbow grease, there are many budget-friendly DIY projects that can give your home a fresh new look without breaking the bank. From painting your walls to upgrading your window treatments, there are plenty of easy and affordable ways to update your home on a budget. In this article, we will share five Budget-Friendly DIY projects that can transform your living space and make it look like a million bucks, without actually spending that much. So, if you're ready to give your home a fresh look, read on to discover these five budget-friendly DIY home projects that will make your home look and feel brand new.
Painting Your Walls: A Fresh New Look on a Budget
Painting your walls with a fresh coat of paint is one of the most effective and budget-friendly ways to update your home. Not only does it add color and personality to a space, but it can also create an entirely new ambiance that can transform the feel of your entire room. Here are some benefits of painting your walls:
- Refreshes your space: A new coat of paint can breathe new life into your home, giving it a fresh and updated look. It's a great way to revitalize any room and make it feel brand new again.
- Increases home value: Painting your walls is a cost-effective and easy way to increase the value of your home. It can create an instant wow factor for potential buyers, making your home more attractive and appealing.
- Hides imperfections: If you have walls with scratches, scuff marks, or other blemishes, painting them can help hide those imperfections and give your room a smoother, cleaner look.
When it comes to choosing paint colors for your walls, there are many options available. To create a fresh new look, consider using lighter shades like pale blues, soft greens, or warm neutrals. These colors can create a calm and inviting atmosphere, making your room feel more spacious and relaxing.
Here are the steps involved in painting your walls:
- Prepare the room: Remove any furniture or items from the room, or cover them with drop cloths to protect them from paint splatters.
- Clean the walls: Clean your walls thoroughly with a damp cloth to remove any dirt or dust.
- Sand the walls: Use sandpaper to lightly sand any rough patches or imperfections on the walls.
- Apply primer: Apply a coat of primer to the walls to create a smooth surface for the paint to adhere to.
- Paint the walls: Use a roller or brush to apply your chosen paint color to the walls, starting from the top and working your way down.
- Allow the paint to dry: Allow the first coat to dry completely before applying a second coat.
- Touch up and clean up: Once the second coat is dry, touch up any areas that need it and remove any tape or coverings from trim and fixtures.
By following these simple steps, you can easily paint your walls and give your home a fresh new look on a budget.
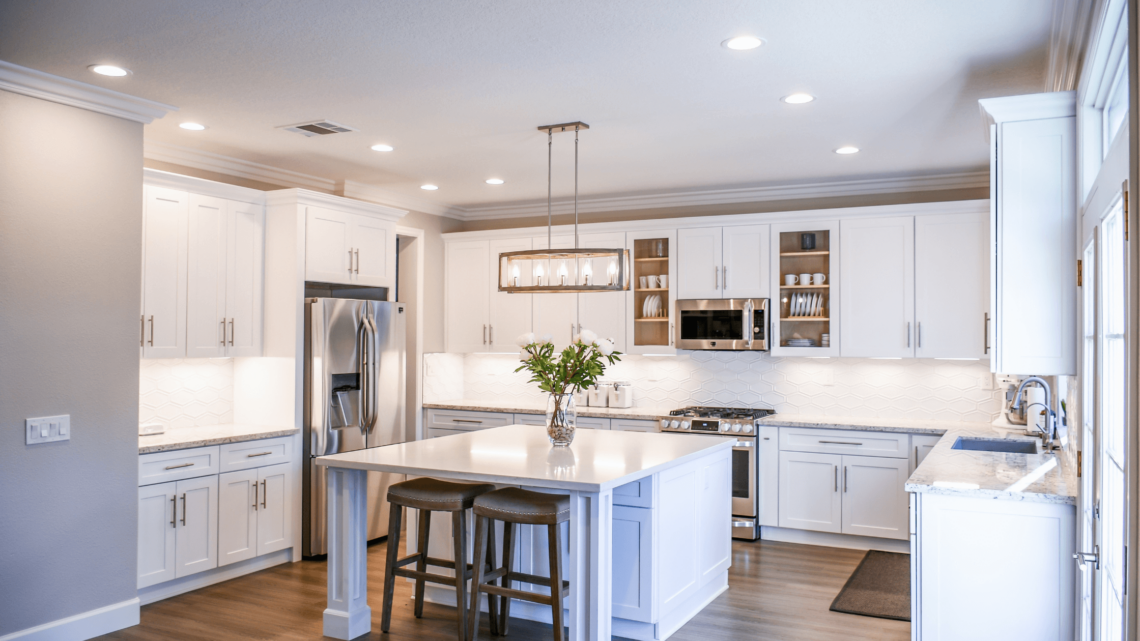
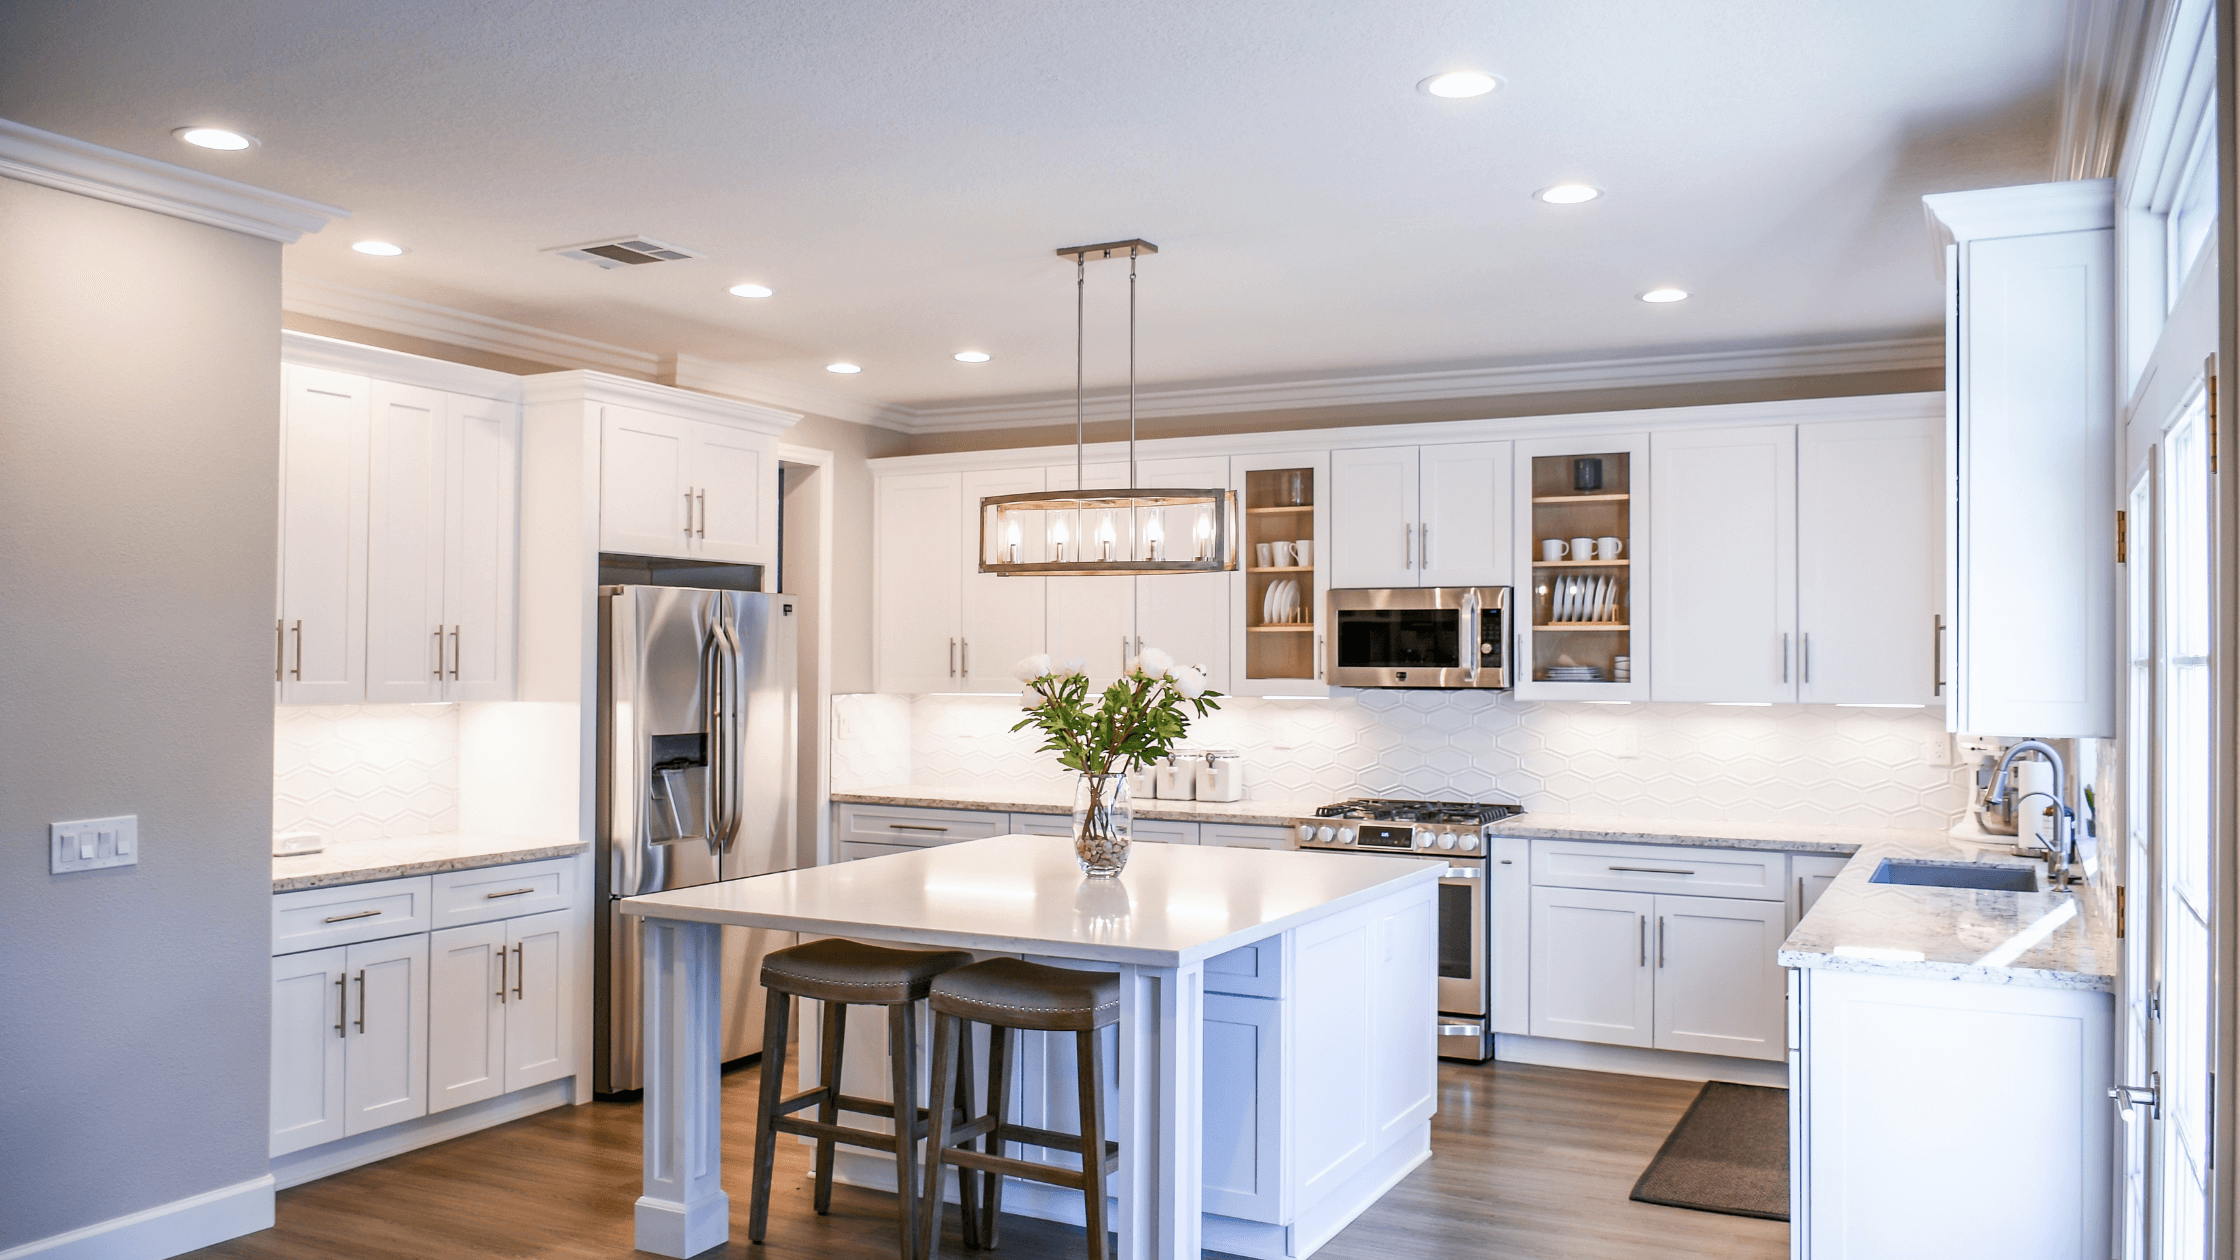
Refinishing Your Cabinets: A Kitchen Makeover Without the Cost
If you're looking to update your kitchen without breaking the bank, consider refinishing your old cabinets and adding new fixtures is the best way. Refinishing your kitchen cabinets can give your kitchen a completely new look and feel without the expense of completely replacing them. Here are some benefits of refinishing your cabinets:
- Saves money: Refinishing your cabinets is a cost-effective alternative to replacing them. It's a way to give your kitchen a new look and feel, without the expense of new cabinets.
- Customizable: When refinishing your cabinets and replacing hardware and cabinet pulls, you have complete control over the color, style, and finish. This allows you to create a personalized look that matches your unique taste.
- Increases home value: Refinishing your cabinets can increase the value of your home by making your kitchen look more modern and up-to-date.
Here are the steps involved in refinishing your cabinets:
- Remove the cabinet front door and hardware: Use a screwdriver to remove the doors, drawers, and hardware from the cabinets.
- Clean the cabinets: Clean the cabinets thoroughly with a degreaser or a mixture of warm water and dish soap. This removes any grease or grime buildup, which can interfere with the refinishing process.
- Sand the cabinets: Use sandpaper to remove the existing finish and create a smooth surface for the new finish to adhere to.
- Apply primer: Apply a coat of primer to the cabinets to create a smooth surface for the paint or stain to adhere to.
- Paint or stain the cabinets: Once the primer is dry, apply the paint or stain of your choice to the cabinets, using a brush or sprayer.
- Allow the cabinets to dry: Allow the cabinets to dry completely before reattaching the doors, drawers, and hardware.
When it comes to choosing colors for your newly refinished cabinets, there are many options available. To create a fresh and modern look, consider using lighter colors like white, cream, or gray. These colors can make your kitchen appear brighter and more spacious. For a more traditional look, darker colors like brown or black can add depth and richness to your cabinets. You can also consider adding some decorative touches like glazing or distressing for a more unique look.
Overall, refinishing your cabinets can be a great way to give your kitchen a new lease on life and look as though you replaced the cabinets or got a new door for each. By following these steps, you can transform your cabinets and create a kitchen that feels brand new, without breaking the bank.
Installing New Light Fixtures: Illuminate Your Space with These Budget-Friendly Ideas
Adding new light fixtures to your home is an easy Budget-Friendly DIY project that can make a big impact. Not only can it improve the functionality of a space by providing more light, but it can also add style and ambiance to any room. Here's why and how to install new light fixtures:
How new light fixtures can add style and ambiance:
Light fixtures can be an essential part of your home's decor, and upgrading them can transform the look and feel of your space. They come in a variety of styles, from modern to traditional, and can be used to highlight specific areas or to create a cozy and inviting atmosphere.
For instance, a statement chandelier can add elegance and sophistication to a dining room, while a sleek pendant light can give a modern touch to a kitchen island. Meanwhile, a simple and understated fixture can create a warm and comfortable ambiance in a living room or bedroom.
Suggest styles of light fixtures:
When selecting new light fixtures, it's important to consider your home's existing style and decor. Here are some popular styles to consider:
- Chandeliers: A chandelier is a classic lighting fixture that adds drama and elegance to the look of a room. They come in a variety of styles, from traditional crystal to contemporary metal designs.
- Pendant lights: Pendant lights are perfect for creating a focal point in a room. They can be used to illuminate a kitchen island, dining table, or even a foyer.
- Flush mounts: Flush mounts are ideal for low ceilings or spaces where you want to keep the fixture out of the way. They come in a variety of styles, from modern to traditional.
- Wall sconces: Wall sconces are perfect for adding ambient light to a room or highlighting a specific area. They can be used in hallways, bedrooms, and even bathrooms.
Steps involved in installing new light fixtures:
Before you begin installing a new light fixture, make sure you turn off the power to the area you'll be working on at the breaker box. Here are the general steps involved in installing a new light fixture:
- Remove the old fixture: First, remove the old fixture by unscrewing the mounting bracket and disconnecting the wires.
- Install the mounting bracket: Attach the mounting bracket to the electrical box using the screws provided.
- Connect the wires: Connect the wires from the fixture to the corresponding wires in the electrical box, using wire nuts to secure them.
- Attach the fixture: Attach the fixture to the mounting bracket using the screws provided.
- Install the light bulbs: Install the light bulbs according to the manufacturer's instructions.
- Turn on the power: Finally, turn on the power at the breaker box and test the fixture to make sure it's working correctly.
With these simple steps, you can install new light fixtures in any room of your home and enjoy the added style and ambiance they bring.
Adding a Backsplash: Spice Up Your Kitchen or Bathroom with These Easy Tips
A backsplash is a panel behind a sink or stove that protects the wall from splashes of water, grease, and food. While its primary purpose is functional, a backsplash can also be a decorative element in your kitchen or bathroom. Here's why and how to add a backsplash:
How a backsplash can add a pop of color and texture:
A backsplash can be a simple and cost-effective way to update the look of your kitchen or bathroom. It can add a pop of color, texture, or pattern to your space and tie together the overall design of the room.
For instance, a bold and colorful backsplash can add personality and visual interest to a neutral kitchen. Meanwhile, a simple and classic subway tile backsplash can create a timeless and elegant look that complements any style.
Suggest materials that work well for a new look:
When choosing materials for your backsplash, it's important to consider the style and function of your space. Here are some popular materials to consider:
- Ceramic or porcelain tile: Ceramic or porcelain tiles are a popular choice for a kitchen backsplash due to their durability and versatility. They come in a variety of colors, patterns, and sizes, making them suitable for any style.
- Glass tile: Glass tiles are perfect for adding a modern and sleek look to your kitchen or bathroom. They reflect light and come in a variety of colors, shapes, and finishes.
- Natural stone: Natural stone backsplashes, such as marble or granite, add a luxurious and timeless look to your kitchen or bathroom. They can be more expensive than other materials, but they offer durability and unique variations in color and pattern.
- Peel-and-stick tiles: Peel-and-stick tiles are a budget-friendly and easy-to-install option for a backsplash. They come in a variety of styles and can be removed or replaced easily.
Steps involved in adding a backsplash:
Adding a backsplash is a relatively simple Budget-Friendly DIY project that can be completed over the course of a weekend. Here are the general steps involved:
- Prepare the surface: Clean the surface where the backsplash will be installed, making sure it's free of dust, grease, and debris.
- Measure and cut the tiles: Measure the area where the backsplash will be installed and cut the tiles to size using a tile cutter or wet saw.
- Install the tiles: Apply adhesive to the back of the tiles using a trowel and press them onto the wall. Use tile spacers to ensure even spacing between the tiles.
- Grout the tiles: After the adhesive has dried, apply the grout to the gaps between the tiles using a grout float. Wipe off any excess grout with a damp sponge.
- Seal the grout: After the grout has dried, apply a grout sealer to protect it from stains and moisture.
Adding a backsplash is a relatively easy and affordable way to update the look of your kitchen or bathroom. With a variety of materials and styles to choose from, you can create a unique and personalized look that complements your home's decor.
Upgrading Your Window Treatments: Enhance Your Home’s Look and Feel with These Simple Projects
Window treatments are an essential part of any room's decor, and they can have a significant impact on the look and feel of a space. Here are some popular window treatment styles to consider and how upgrading your window treatments can transform your home:
How window treatments can transform the look and feel of a room:
Window treatments can add texture, color, and pattern to your home, making it feel warmer, more inviting, and complete. They can also control the amount of light that enters the room and provide privacy, helping to create a comfortable and functional living space.
For instance, if you have a small room with limited natural light, adding sheer curtains can create a soft and airy ambiance, making the space feel larger and more open. Meanwhile, if you have a large room with high ceilings, adding drapes or heavy curtains can add warmth and coziness, making the room feel more intimate.
Suggesting styles of window treatments:
When choosing window treatments, it's important to consider the style of your room and the level of light and privacy you need. Here are some popular styles to consider:
Curtains: Curtains are a classic window treatment that comes in a variety of styles, colors, and fabrics. They are easy to install and can be paired with a valance or cornice board for added elegance.
Blinds: Blinds are a versatile and functional window treatment that can be adjusted to control the amount of light and privacy in the room. They come in a variety of materials, such as wood, vinyl, and metal, and can be customized to fit any window size.
Shades: Shades are a popular option for a clean and modern look. They come in a variety of styles, such as roller, Roman, and cellular, and can be made from a variety of materials, such as fabric, bamboo, or wood.
Shutters: Shutters are a classic and timeless window treatment that can add value to your home. They come in a variety of styles, such as plantation, louvered, and solid panel, and can be made from wood, vinyl, or composite materials.
Detail the steps involved in upgrading window treatments:
Updating your window treatments is a simple and Budget-Friendly DIY project that can be completed in a weekend. Here are the general steps involved:
Measure the window: Measure the width and length of the window, taking into account any trim or molding that may affect the installation of the window treatment.
Choose the style and material: Consider the style of your room and the level of light and privacy you need when selecting your window treatment. Choose a material that fits your budget and complements your decor.
Install the new hardware: Install the necessary hardware for your chosen window treatment. This may include brackets, rods, or clips.
Hang the window treatment: Hang your window treatment according to the manufacturer's instructions. Make sure it is level and secure.
Accessorize: Consider adding additional accessories, such as tiebacks or decorative trim, to enhance the look of your window treatment.
Maintain your window treatments: Regularly clean and maintain your window treatments to keep them looking their best. Follow the manufacturer's care instructions and make any necessary repairs or replacements as needed.
In conclusion, updating your home doesn't have to be a costly and time-consuming project. With a little creativity and some DIY skills, you can give your older home a fresh and modern look without breaking the bank. By following our advice and attempting these five Budget-Friendly DIY projects, you can transform your space and create a more inviting and functional living environment. From painting your cabinets to installing new window treatments, there are plenty of affordable and easy ways to update look of your home and make it feel like new again. So why not give it a try? The advantages of diy home improvement projects on a budget are obvious: increased comfort, functionality, and aesthetic appeal, all of which can improve your mood and well-being. So don't wait any longer; grab your tools and get started on your next DIY project right away!


